

I'm always seeing hummus recipes around the web and in food magazines, and I'm always clipping them to tuck away in my mental file of to-do recipes in the back of my wide-eyed foodie brain. For the longest time, though, I was too [lazy? scared?] to actually try making hummus. "Tahini? What the heck is that?" So you know, I just kept the hummus file shut.
Here's the thing about hummus in this apartment, though. We buy it. We get it home from the grocery store. Nate takes it to the couch with chips or veggies. Ten minutes later, it's gone.
Always.
Sometimes, I even hide it in the back of the fridge to be sure I get some for myself.
Besides being delicious, hummus is so versatile and good for your soul! But one thing hummus is not: cheap. (Well, especially when your husband eats it all in one sitting.) So that was my kick in the butt to try making it myself: it's much cheaper. And now that I've done it once, I do it all the time. It's fresh, easy, delicious, and totally worth the pennies pinched!
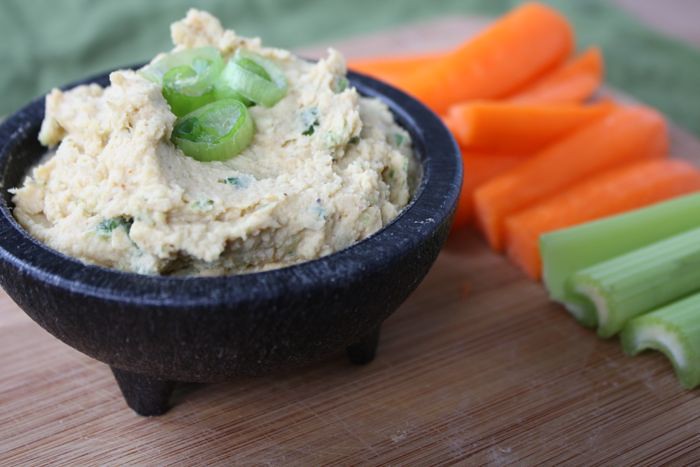
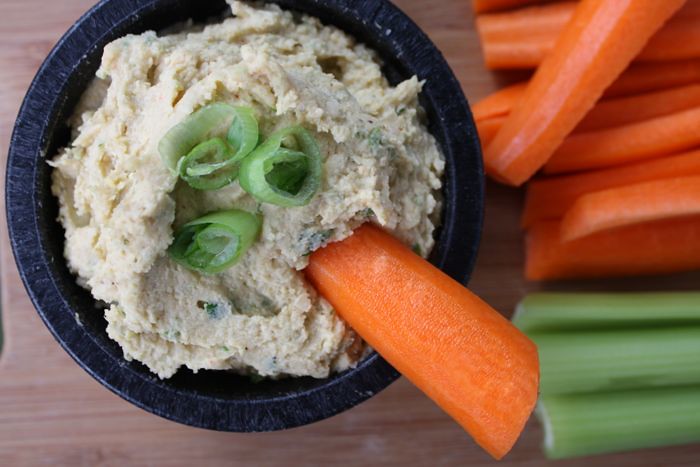
Garlic Chive Hummus
Makes about 2 cups.
1 can garbanzo beans
3 tablespoons lemon juice
2 tablespoons tahini
1 tablespoons olive oil*
1 garlic clove, minced
3 green onions, chopped
salt and pepper, to taste
cayenne pepper (optional)
*I usually blend the olive oil right into the hummus, but you may choose to wait and pour the olive oil over the top of the hummus before serving.
Drain and rinse garbanzo beans, reserving ~2 tablespoons liquid. Combine garbanzo beans, reserved liquid, lemon juice, tahini, oil, and garlic in blender or food processor. (I use an immersion blender.) Stir in salt, pepper, cayenne pepper, and green onions. Blend just a few pulses more.
Taste. Adjust lemon juice and tahini to your flavor/consistency preference.
Keeps in fridge for about 10 days.
No comments:
Post a Comment