Wednesday, June 26, 2013

HOW TO MAKE VANILLA EXTRACT

Last Christmas, I made vanilla extract to give to friends and family as Christmas gifts. It really was so easy, and it's inexpensive. The trick is that you need to allow a few months' time for the alcohol to extract enough flavor from the beans (2 - 4 months, specifically: after 8 weeks it is perfectly usable, but the flavor gets stronger the longer you let it go). So, for those of you who might have some summer free time and want to get WAY ahead on your Christmas gifts, now's a good time to start!


Making vanilla extract yourself is great for lots of reasons, whether you're planning to gift it or not. First, it really is pure vanilla extract - much better quality than you can find at your local grocery store... unless you're paying a fortune or you happen to be reading this from Mexico...  And, believe it or not, it can be much cheaper this way, too, especially if you are making a lot at once.
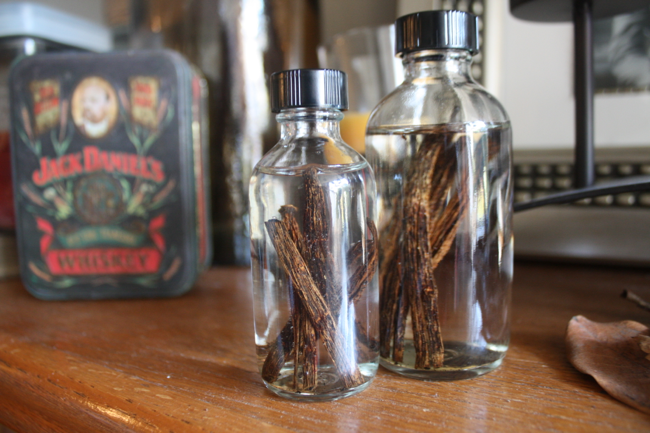


Homemade vanilla extract has the strongest, most wonderful velvety smell and flavor. Plus, of course, your house will be filled with the scent while you're making it. Mmm...


HOMEMADE VANILLA EXTRACT:

--unflavored vodka, 80 proof or higher (at least 40% alcohol) - can be really cheap vodka
--vanilla beans
(750 ml vodka / 12 vanilla beans)

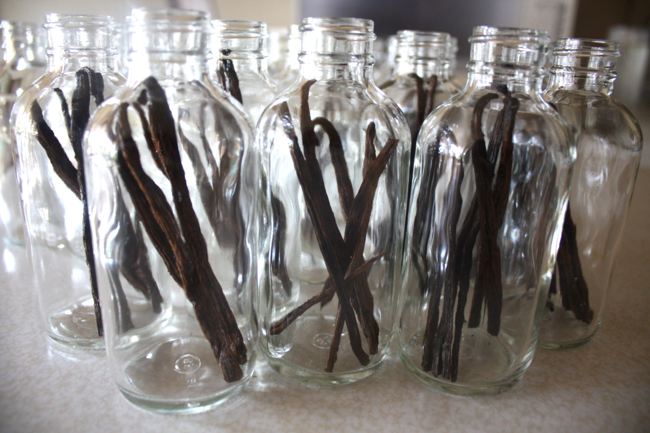
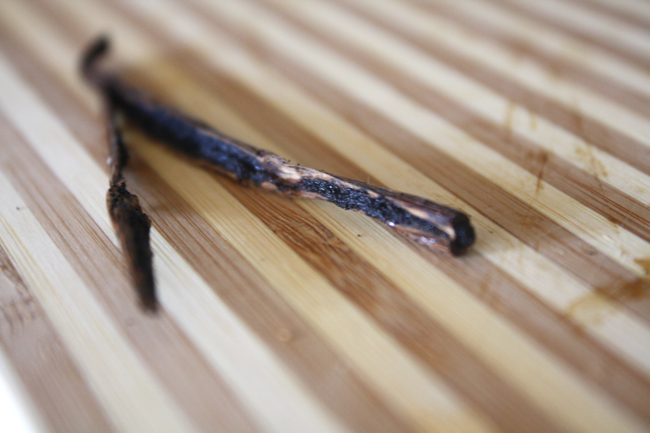
Slice the beans lengthwise. Place in glass bottles or jars. Fill bottles/jars with vodka. Beans should be completely covered with alcohol, so you may need to cut the beans into shorter pieces, depending on the size of your bottles/jars. Seal the lid tightly. Shake well. Store in a dark place to steep for 2 - 4 months, shaking well once a week.

You may remove the beans and strain the extract (through muslin), but the bits and pieces of the bean floating around in there only give it a stronger flavor.


WHERE TO GET VANILLA BEANS
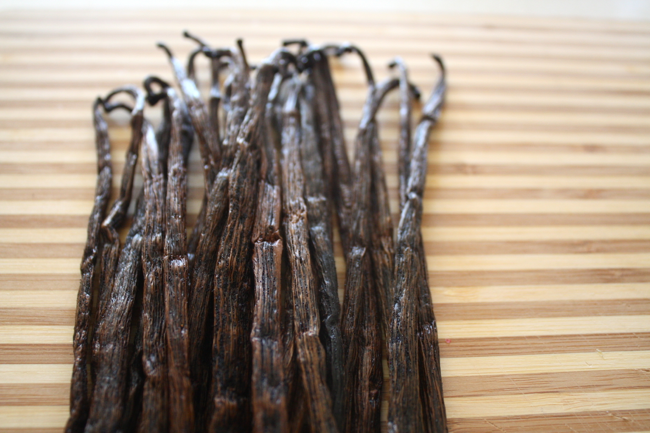
Vanilla beans tend to be exorbitantly priced at grocery stores, so I do recommend buying online. There are several varieties and a range of sources to buy from online. I bought Madagascar Bourbon vanilla beans from Amazon, during a holiday-time sale. To read more about varieties of beans, as well as how to use and store them, these FAQs on Beanilla are an excellent source.

My advice: order in bulk, and have some leftover to use for other things in your own kitchen!


ABOUT BOTTLES
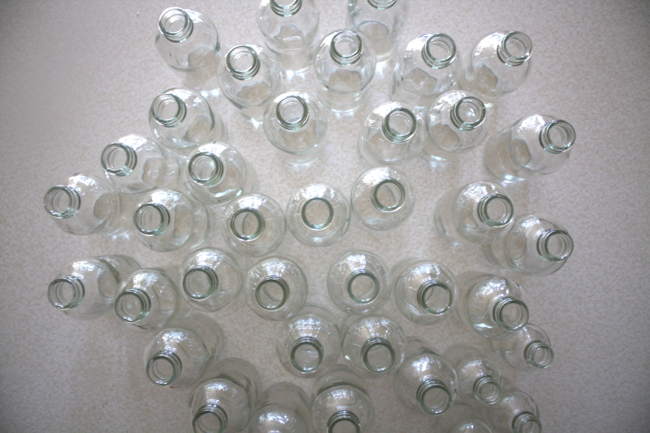
I loved the little bottles I got from Specialty Bottle. I used the 4-oz. Boston Round bottle for most of my extract, but I also ordered some 2-oz. bottles for me to keep and and refill continually. In addition, I filled a couple of ball jars for myself, so I'm set on extract for a long time.


HOW TO USE EXTRA VANILLA BEANS
In most recipes, you can use pure vanilla - scraped directly from the bean pod - instead of extract. I use  vanilla beans in most of my baking, and I especially try to use them in recipes which showcase a vanilla flavor, like vanilla ice cream. 

The empty pods actually have lots of flavor left in them after the "guts" have been scraped out, so I like to put them in my sugar canister and let them infuse vanilla into the sugar. Vanilla sugar - there's another gift idea! :)


TIPS FOR GIFTS
I used in 4 oz. bottles for gifts, so I placed 2 vanilla beans in each bottle. One 750 ml bottle of vodka = about 25 oz., so it does about 6 of these bottles.
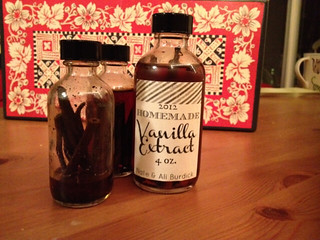
As for labels, you can of course print them (or have them printed) on adhesive paper. I printed mine on regular paper, then ModPodged them onto the bottles. They came out very nicely, though some of the ink rubbed off a little if I used too much pressure with the paint brush. You can find tons of label templates online. I designed mine myself. 

(Unfortunately I didn't take pictures of the extract 
when it was "dressed up" with ribbons, etc. for gifting, 
so I just snapped a photo of the ones I have in my cupboard.)


Saturday, June 1, 2013

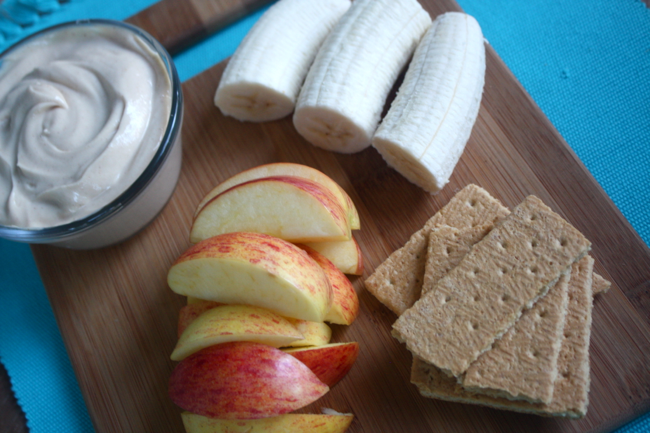
[HEALTHY] SNICKERDOODLE GREEK YOGURT DIP


It's happened again. Summer clothes are upon us, and I'm not ready! It's that winter-ish little layer of cuddly flub that I built up during hibernation. Actually to be honest, when spring first comes it never really matters how pale or flabby I am: At the start of warm weather, I'm always so happy to feel the sun on my shoulders that I don't care if my arms are toned up for a sundress.

But that wears off.

And the cuddly winter-ish flub has to go.


True to my springtime routine (though I'm a little late in getting to it this year), I have been eating well, working out more, and in general making healthier choices for my body. But we all have weaknesses...

I have a serious sweet tooth (as you can probably tell from all the baking I post about), and my husband really likes to keep ice cream in the freezer, which is BAD for me. In terms of something cold sweet to enjoy in warm weather (especially when Nate's eating ice cream next to me), this dip is one of my favorites.

It's loaded with protein (that can vary depending on the yogurt you choose). It's cold, creamy, and sweet. This recipe lasts me a few days - though if you're not careful it can be gone in one sitting :)


HEALTHY SNICKERDOODLE GREEK YOGURT DIP

12 oz. nonfat honey Greek yogurt
3 - 4 tablespoons creamy peanut butter (to your taste)
drizzle of honey (optional)
sprinkle of cinnamon

Stir together ingredients until smooth. Store in airtight container for 7 - 10 days.

Tuesday, May 21, 2013

EVERY DAY FEELS LIKE SUNDAY, BABY

It's spring! And I'm twitterpated. Over my husband.

For a visual definition of "twitterpation:" see this video:


When I'm with Nate, it's difficult to feel anything but happy. He's my guy.

He makes every day feel like Sunday.

And all week I've been singing this song ("Every Day Feels Like Sunday" by Of Montreal):


Yes, every day feels like Sunday, and I'm so grateful to have such a great friend and partner in life. One way Nate is really great for me is that he helps me realize things I do that lead to my own unhappiness. Lately I've been thinking a lot about personal betterment goals, hoping not only to identify them but also to articulate them clearly so that I can figure out how to go about achieving them. But the lens through which I see myself is a little muddled, not to mention biased, so that's been kind of difficult (as soul searching can sometimes be, you know... no big deal... :)).

Then the other day I came across this article: 22 Things Happy People Do Differently. There's no groundbreaking advice here and probably nothing you've never heard before. But I must've stumbled upon it at just the right time because it helped me clarify and articulate some of my own personal goals.

For me, the hardest items on this particular list are:
     6. Don't sweat the small stuff.
     8. Never make excuses.
    11. Avoid social comparison.
    13. Don't seek approval from others.
    15. Nurture social relationships.

Now the next step is to figure out some reasonable ways to work on these things. Anybody have any suggestions? :)

I hope you're having a great week, dear reader, and getting pumped up for the holiday weekend. Woohoo! It's going to be a little vacation for me: one day of loveliness and a fancy dinner followed by three days of hiking and camping in Big Sur. I'm sure I'll share some pictures next week :)


Saturday, May 18, 2013

BRAZILIAN LEMONADE


Happy weekend, dear reader! Happy, indeed. I'm so ready for it. This was a long work week for me, with a few added weeknight babysitting gigs scattered into the schedule. Each babysitting session was for a 2-year-old girl, each of them sweet and very snuggly, so I really, really can't complain. Two-year-old girls have a magical way of making late nights completely worth it.

As for the homefront, I got pretty much nothing accomplished this week. Not even in the kitchen.

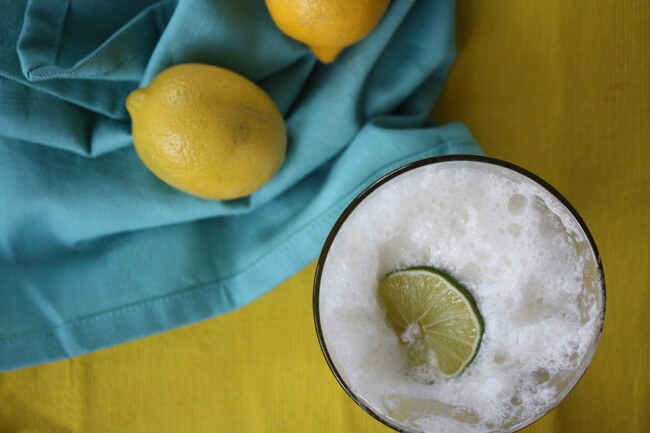
So I'm sharing this recipe I made a couple weeks ago, on a hot, hot day when my mom was visiting. I'd actually never heard of Brazilian lemonade before, but it's a pretty special drink. Frothy, sweet, and cold. It hit the spot.


Brazilian lemonade is typically made with lime juice and sweetened condensed milk (no lemon), but it seems we still call it by the same name even when lemons are substituted. I chose to do a combination of lemons and limes - good choice, Alyssa. :)


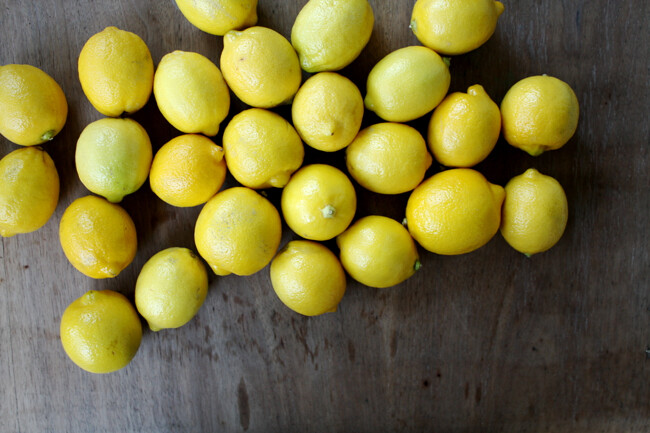
While my mom was visiting, she and I stumbled across 10-cent lemons and managed to come home with at least 30 of them. We tried this Brazilian and then juiced the rest for regular lemonade - enough to last the whole week of her visit! You know, with some raspberry vodka added... :)


Brazilian Lemonade
makes 4 cups

1/2 cup lemon juice (3 - 4 medium lemons)
1/3 cup lime juice (2 - 3 limes)
3/4 cup sweetened condensed milk
3 cups cold water
pinch salt

Combine all ingredients in a blender and blend until smooth.  Will be frothy.
Serve over ice.

Friday, May 10, 2013

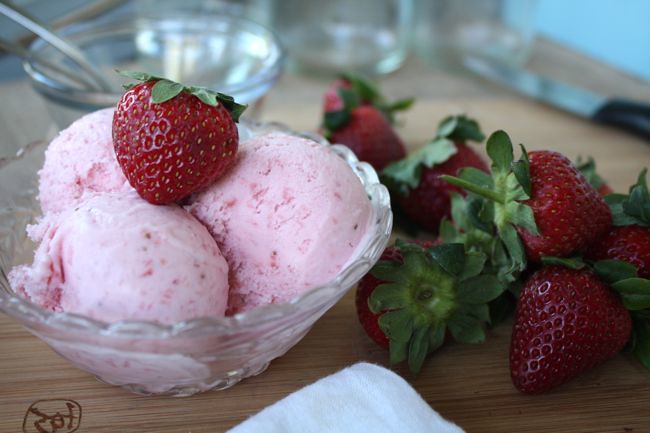
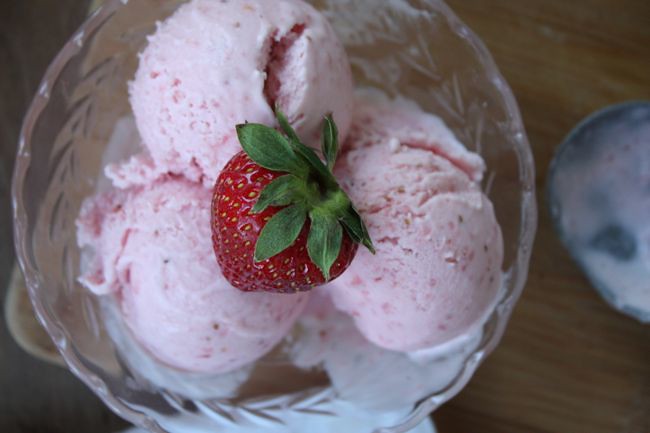
FRESH STRAWBERRY ICE CREAM (the BEST I've ever tasted)


Ooohhh, dear reader. I'm glad you're here. This ice cream is just... it's just... the best.

Strawberry season. Holy cow, strawberry season. It's my first strawberry season in California, and I'm beside myself. Most of the strawberries in the United States are actually grown in California and Florida, and in those places, there is basically only one month out of the year when they're not growing. And I count myself pretty lucky to have nice berries available practically all the time. But the peak of strawberry season here is in the spring - April, May, and June. Last week at the farmers' market, they were practically giving them away. Even Safeway had them $1/lb. recently.

Can you go wrong with fresh and local?

Not really.


But if you happen to have an ice cream maker, you can go ever so right. This recipe is actually adapted from a Cuisinart recipe (yes, that's my photo on the Cuisinart website), which came in a booklet with our electric ice cream maker.

The ice cream is light, sweet, and SO creamy. It freezes to the perfect consistency: not soft, but not at all too hard to scoop. And the strawberry flavor is so perfectly strong and fresh (best achieved by using fresh berries, of course).


My first memory of homemade ice cream is making it in a plastic bag in grade school. Did you do that? At home, I remember making ice cream with my family in something that looked like this:
We've come a long way since then! We received our electric ice cream maker as a wedding gift, and it took me a while to get it out and use it. I think my perception must have been tainted by that metal crank up there :) Anyway, it's super easy. And this recipe is one I can actually see making often.

Enjoy!


FRESH STRAWBERRY ICE CREAM (THE BEST)

Makes 14 servings (7 cups)
Adapted from this recipe. (Yes, that's my photo on the Cuisinart website.) Instructions are for a Cuisinart electric ice cream maker, adjust to your ice cream makers' instructions.

3 cups fresh sliced strawberries, stems removed
juice from one large lemon (about 1/4 cup)
1 1/2 cups sugar, divided
1 1/4 cups whole milk
2 cups heavy whipping cream
2 tsp. pure vanilla extract

In a small bowl, combine the strawberries with the lemon juice and 1/2 cup of the sugar. Stir gently and allow the strawberries to macerate in the juices for at least 2 hours. Strain the berries, reserving juices. Purée the berries. In a medium mixing bowl, use a hand mixer on low speed to combine the milk and remaining granulated sugar until the sugar is dissolved, about 1 to 2 minutes. Stir in the heavy cream, reserved strawberry juice, mashed strawberries, and vanilla.

You can save this batter in the freezer overnight to make the next day.

Turn the ice cream maker on; pour the mixture into freezer bowl, and let mix until thickened, about 20 to 25 minutes. The ice cream will have a soft, creamy texture. If a firmer consistency is desired, transfer the ice cream to an airtight container and place in freezer for about 2 hours. Remove from freezer about 10 minutes before serving.


Wednesday, May 8, 2013

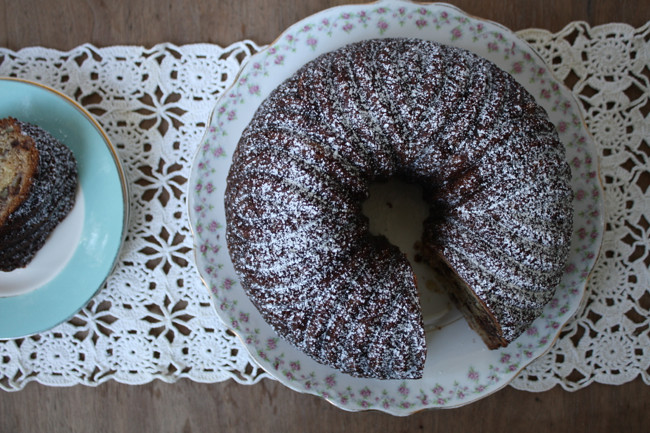
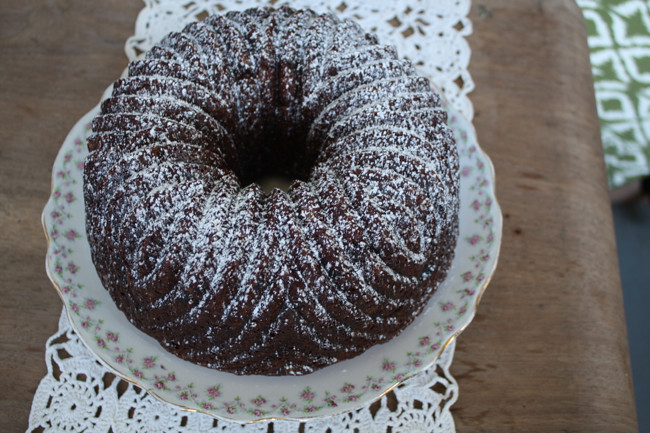
BANANA PECAN BUNDT CAKE (with chocolate chips)


Happy hump day, dear reader. I hope your week is going well.

I don't often make bundt cakes. Actually no one in my family really makes bundt cakes. Come to think of it, when I think of bundt cakes from my childhood, I think of those super sweet, super moist grocery-store-bakery "bundt cakes" that are thickly glazed. You know, the ones that look like a bundt cake, but they're really just too light to be a bundt cake? I remember trying to sneak the piece with the most glaze, duh.


Well this is not one of those super sweet, super-glazed cakes. This is a heavy, moist cake with a strong banana flavor and the perfect touch of added sweetness with a powdered sugar dusting. Perfect for morning coffee, afternoon snack, or *cough* midnight snack.

The recipe is so easy and straightforward. For moisture I skipped the sour cream and used nonfat Greek yogurt instead. (I couldn't tell a difference. Yay!) You can adjust the chocolate chips and nuts however you like (1 cup of each is pretty generous). Skip one or the other, or try walnuts or apple chunks instead of pecans. (But, who are we kidding, you can't skip the chocolate chips. Don't do that.)


BANANA PECAN BUNDT CAKE


2 cups flour
1 tsp. baking soda
1 tsp. baking powder
1 stick butter
3/4 cup brown sugar
3/4 cup white sugar
2 eggs
1 tsp. vanilla
3 ripe bananas (medium - large)
3/4 cup nonfat plain Greek yogurt
1 cup chocolate chips
1 cup chopped pecans

In a large bowl, stir together flour, baking soda, and baking powder. Set aside. In a medium bowl, cream together butter and sugars. Add eggs and vanilla. In a small bowl, mash bananas together with yogurt. Stir banana mixture into butter mixture. Add wet mixture to dry mixture and stir just until combined. Finally, stir in chocolate chips and nuts.

Pour into a greased bundt pan and bake at 350 degrees for 65 - 75 minutes. Check about halfway through to be sure it's not browning too much. If it is, cover loosely with foil.

Remove from oven and cool in pan 15 minutes on a wire rack. Then flip over and remove cake onto wire rack. Allow to cool completely.


Monday, May 6, 2013

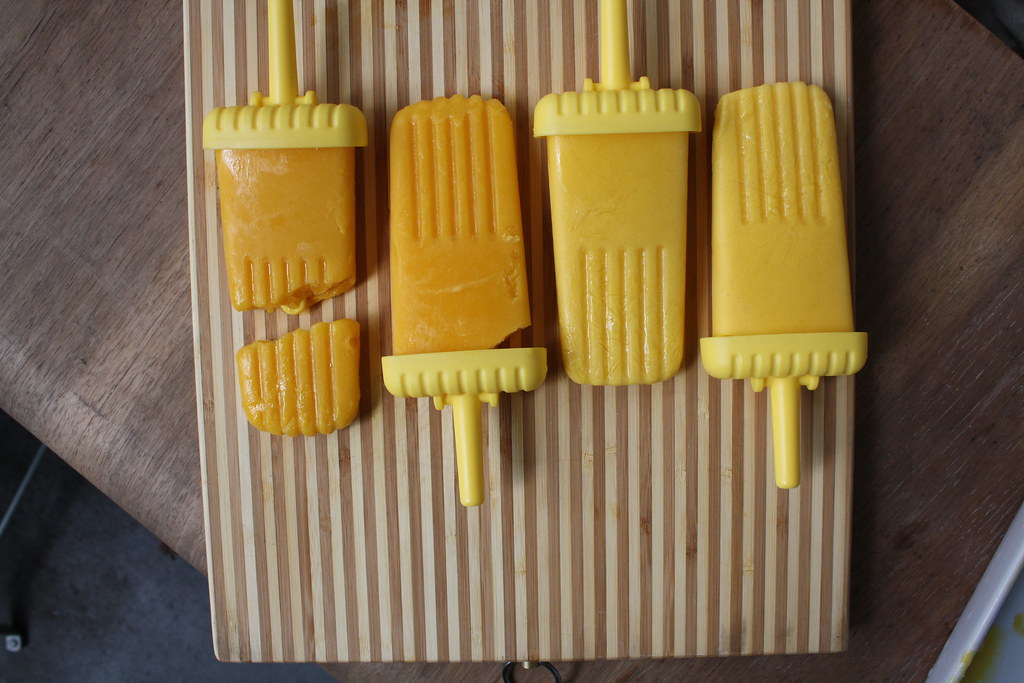
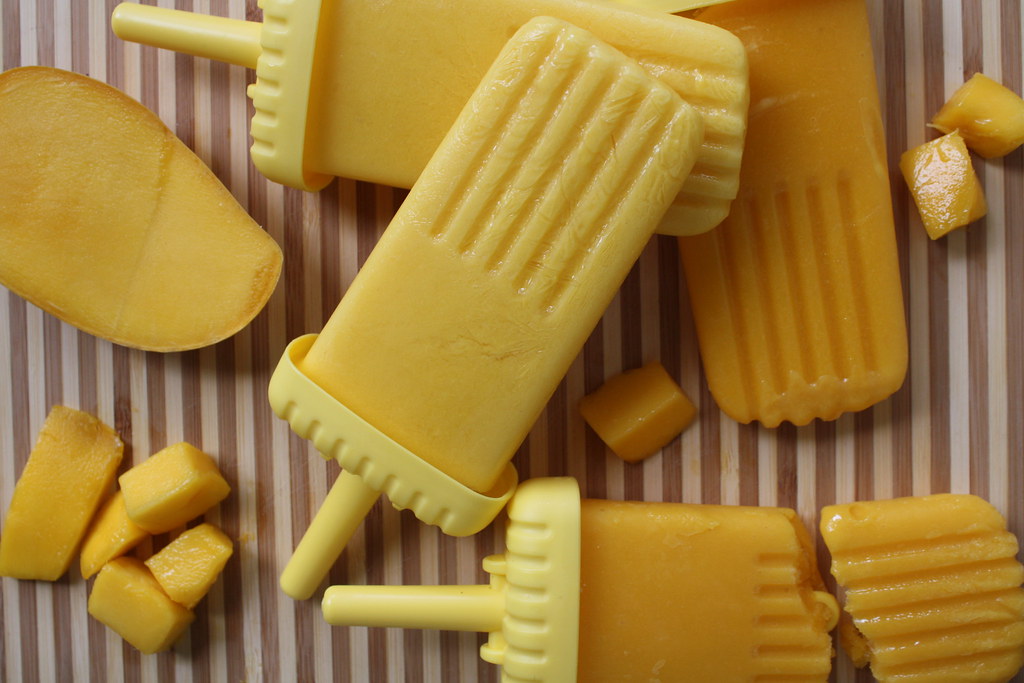
2 Mango Popsicle Recipes


Hello, dear reader.

This is my first real post for a.b.daisy.

I'm excited :)


Living in northern California has exposed me to tons of foods I never really ate growing up in the Midwest. Although I can't blame the region entirely: I'm sure it's partly because I was a totally picky eater as a kid, and I think at some point my mom just gave up trying to widen palate. So I sort of stayed that way until college. And when you go to college in middle-of-nowhere, Illinois, the available grocery options are slim. Especially for produce.

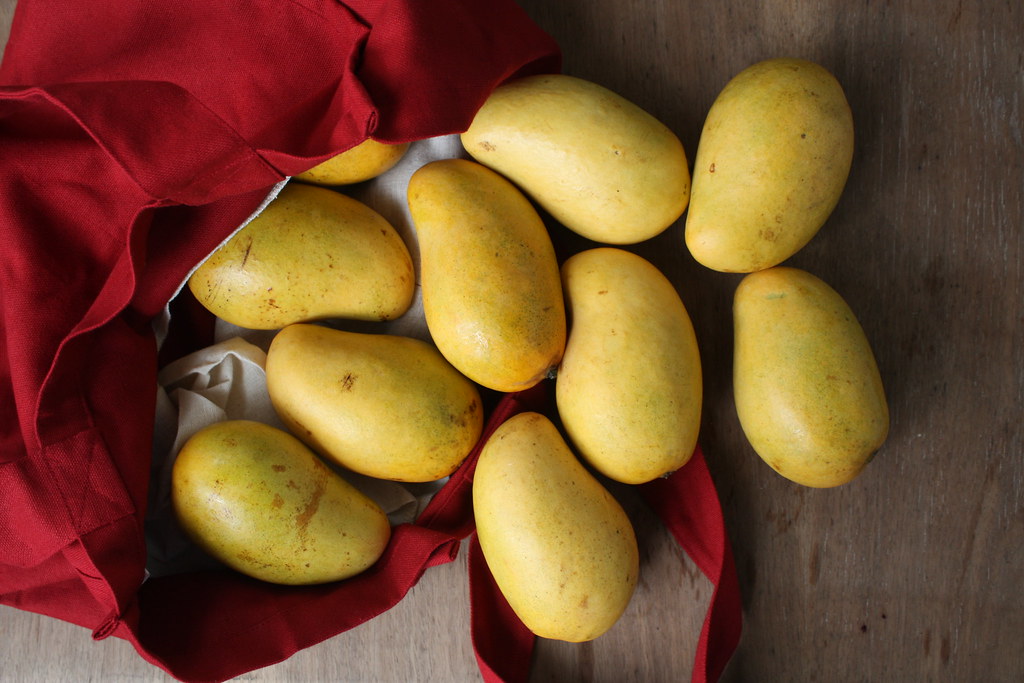
So mangoes were included in the poor foods that didn't make it onto my plate. When Whole Foods had 50-cent champagne mangoes a couple weeks ago, I kind of overdid it. Plus I got SUPER excited when I learned how to dice a mango because, really, it's so fun. I felt like a chef.


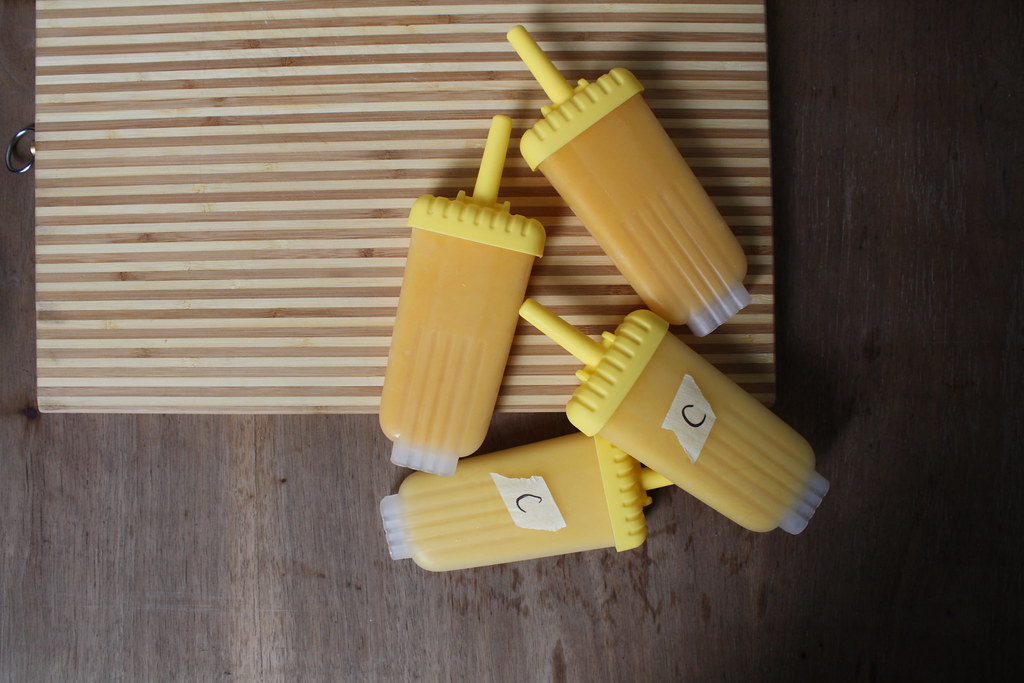
Combined with my eagerness for spring and warm weather, my enthusiasm for the mango sale resulted in 2 big batches of yummy mango popsicles. (They were yummy, but really. I made way too many.)

Happy warm weather and mango season to you! Enjoy these popsicles :)

P.S. The other day we made strawberry ice cream. It was, no contest, the BEST strawberry ice cream I've ever tasted. You'll want to keep your eyes peeled for the recipe!


*The following recipes make 6 popsicles each (in a standard popsicle mold).

MANGO POPSICLES

2 cups mango puree
1/4 cup water
2 tablespoons sugar

Bring water to boil. Stir in sugar until it dissolves. Stir simple syrup into mango puree. Pour into popsicle molds and freeze until solid.

COCONUT MANGO POPSICLES

2 cups mango puree
1 cup coconut milk
1 cup water
2 tablespoons sugar
hint lime juice

Combine all ingredients in a blender and blend until smooth. Pour into popsicle molds and freeze until solid.


UA-46365231-1