Wednesday, October 23, 2013

DIY FAIRY WINGS


Hello, dear readers! I hope you're having a great week. I just finished putting together my fairy costume, and I'm really excited about it. I'll post pictures of the whole costume soon!


I was pleasantly surprised at how easy it was to make beautiful fairy wings. And for less than $4!

Here's what you need:

  • 4 wire hangers
  • 2 pairs of cheap nylon socks (you know, the kind that come in those little plastic eggs for like 30 cents each)
  • twine or strong string
  • masking tape
  • small piece of cardboard
  • several feet of ribbon (for tying the wings onto yourself)
  • paint, glitter/glue, silk flowers, decorations, etc. 
  • pliers 
  • scissors

Like I said, I spent less than $4 on these wings: 30 cents each for 2 pairs of nylon socks (Wal-Mart, but you can get them at Walgreens, too), and $3 for the hydrangea (also Wal-Mart).

With the help of the pliers, untwist and straighten out each of the hangers. Now bend the hangers into wing shapes. Take the top and bottom of one wing, put the corners together, and tie tightly with twine. (If you have ends of hangers poking out of the outline of the shape, you may want to wrap the end with masking tape so it doesn't poke a hole in the nylons.) Next, pull one nylon sock onto each the top and the bottom hanger. Tie at the bottom (like you would tie a garbage bag). Repeat steps with the other wing.

Now put the two wings together, and wrap the center connecting point with twine at every angle. Wrap well until the wings feel secure. You can use masking tape for extra reinforcement.

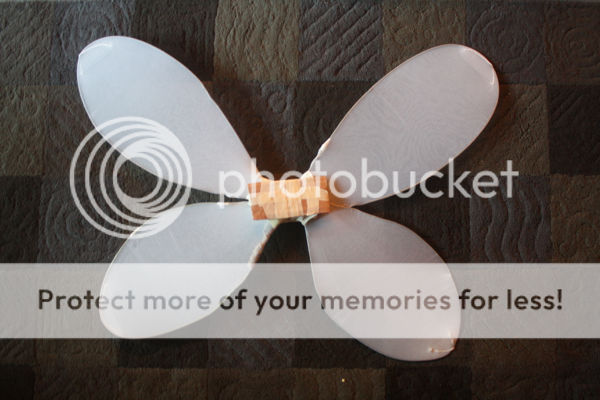
Now, to reinforce the center of the wings (and to give you a place to mount flowers and other decorations), cut two small cardboard rectangles, one for the front and one for the back. Attach them with masking tape, like this:

Next, cut two very long pieces of ribbon, and tie each around the new cardboard center. The knots should be on the back, and the ribbon should hang down evenly. You'll use these ribbons to tie the wings around your arms.

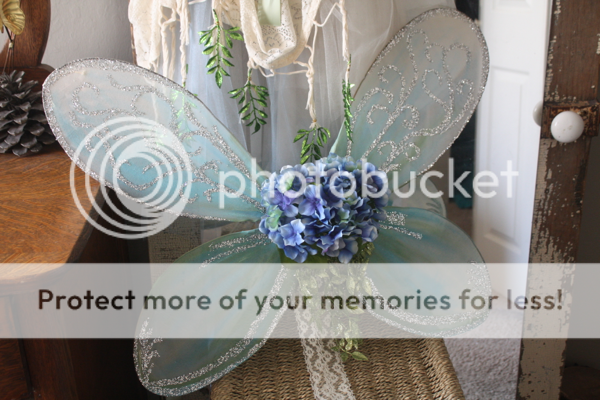
Now it's up to you to make them beautiful! Use acrylic paint, spray paint, glitter, flowers, rhinestones, and other fairy things. I glitter-fied mine by painting on ModPodge.


Voila! Happy fairy-ing!


For a video tutorial with a similar process, here's a great video from Threadbanger:

Monday, October 21, 2013

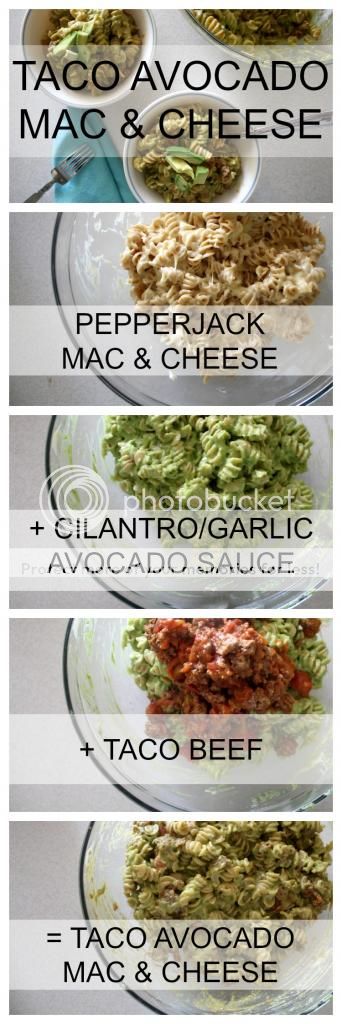
TACO AVOCADO MAC & CHEESE

Hello, dear readers! I've got a good 30-minute dinner for you today.

When I first stumbled upon this recipe for avocado mac and cheese, it kind of grossed me out. I don't remember what possessed me to try it, but for some reason I did, and now it's a weekly staple in our apartment. It's delicious. So creamy and cheesy and perfect. Actually, it's my husband's favorite meal now. (That pretty big because normally he complains when we eat meatless.)

As a matter of fact, I want to publicly and officially thank Two Peas and Their Pod for the recipe in the first place. Seriously, awesome. We love it.

I'm surprised I haven't done this sooner, but the other night I added taco meat. Doesn't that sound perfect? I mixed a jar of diced tomatoes in with the meat, and I added lots of extra garlic and cilantro to the avocado sauce. It was really hearty and would make a great meal for a group. Definitely a potluck pleaser. (Keep in mind the avocado sauce is going to get brown after a couple hours, though my husband insists that next-day leftovers taste just as good, despite the yucky color...)

Enjoy! Hope you all have a great week!

TACO AVOCADO MAC AND CHEESE(inspired by this recipe on Two Peas and Their Pod)

PEPPER JACK MAC AND CHEESE
10 ounces pasta (I like to use rotini or elbow macaroni for this dish)
2 T butter
2 T flour
1 cup milk
2 cups shredded Pepper Jack cheese

AVOCADO SAUCE
2 large avocados, peeled and pitted
4 large cloves garlic, minced
1 lime, juiced
1/2 cup chopped fresh cilantro
Salt and pepper, to taste

TACO MEAT
1 lb. ground beef
1 medium onion, diced
1 can diced tomatoes
your favorite taco seasoning*

*I use cumin, chile powder, cayenne pepper, paprika, salt, and a hint of coriander. If you want to use store-bought, I highly recommend Trader Joe's brand. 

First cook the meat:
Heat oil in a saucepan over medium heat. Add onion and cook until translucent. Add beef and seasoning and cook until browned. Stir in tomatoes heat 5 more minutes on medium heat. Then reduce heat to low and simmer while you prepare the rest of the dish. Stir occasionally.

Meanwhile, bring a large pot of water to boil and cook pasta according to package - on the firm side of al dente. DO NOT overcook the pasta. You don't want it to be mushy for this recipe. 

While the pasta is cooking, make the sauces. 
For the avocado sauce: Add all ingredients to a blender and blend until smooth. 
For the cheese sauce: Melt butter in a small saucepan over medium heat. Whisk in flour until it forms a paste. Add milk, turn heat to high, and stir with a whisk. Continue stirring for a minute or two to be sure the paste is incorporated (and doesn't burn on the bottom). Bring to a boil and reduce heat to medium-low, stirring often. When it becomes thick (it doesn't take long at all), stir in the cheese until the sauce becomes creamy.

In a large bowl, stir cheese sauce into pasta, then stir in avocado sauce. Finally, stir in the taco meat. 

Enjoy!

NOTE:
The pepper jack cheese is kind of important. It gives the whole dish that special kick. That said, I have made it with other cheeses plenty of times, and it's still good. If for some reason you don't use pepper jack, ease up a bit on the cilantro and the lime juice. Or maybe season your meat hotter than you normally would. 


Saturday, October 12, 2013

DIY COSTUME INSPIRATION: DEER

Happy October, dear readers!

Happy fall!

Happy Halloween-costume-dreaming time! (yay)

I love Halloween. Actually I love any excuse to costume up. That's why I love theme parties (and I get super into them when I'm a guest... probably too much sometimes...).

I have to say, I've created some pretty rad DIY costumes, from Pocahontas to Mystique (yeah, I painted my whole body blue... it was one of my favorites). Sadly, though, these last few years I didn't find enough spare time or effort to make any elaborate costumes.

Last year, I found a solution which was not at all time or money consuming - painting my face:

DIY deer costume

I stapled (yes, stapled) little brown felt ears to a headband, and voila!

DIY deer costume

This picture is at Buckshot Bar in SF. Haha, it's the only picture I took with my ears :)

It was a ton of fun painting my face each night, and then I just wore something super simple. One night I wore all brown, and another night I wore brown tights with a brown-and-other-earth-tones floral dress. When your face is the real package, the clothes are so easy!

And deer are adorable. Right?

Here's some more:


Have a great Saturday! 

Wednesday, October 9, 2013

DIY LYRICS CANVAS


Have you seen these types of canvas-with-words-painted-on projects floating around Pinterest? Probably. Home decor with words on it is so catchy - I love it. And when they're your own words, well, then how can you resist? Song lyrics, poems, quotes, whatever.


Actually, I have a whole list of words/phrases/lyrics on my computer, just waiting to be incorporated into some kind of decor some day. But I wasn't brave enough to make anything until I found these two large canvases for $5 together at a thrift store. I couldn't just leave them there.

Did I mention they were $5? Together?


So I painted them white (acrylic) ...


... and I painted them again (acrylic)...


... and stenciled lyrics on them (sorry it's difficult to see)...


... and painted them in. Voila.

My letters and lines are kind of crooked (very crooked in some spots). After the first few imperfections I decided I kind of liked it, so I kept it kind of that way (oooooooor I was too lazy to really fix it).


Do you guys know this song? I love it. One of my favorite recordings of it happens to be on YouTube, so I get to share it with you. Please enjoy Ray Charles, dear readers:


Hope your week is going well! Have a wonderful day :)

Saturday, September 28, 2013

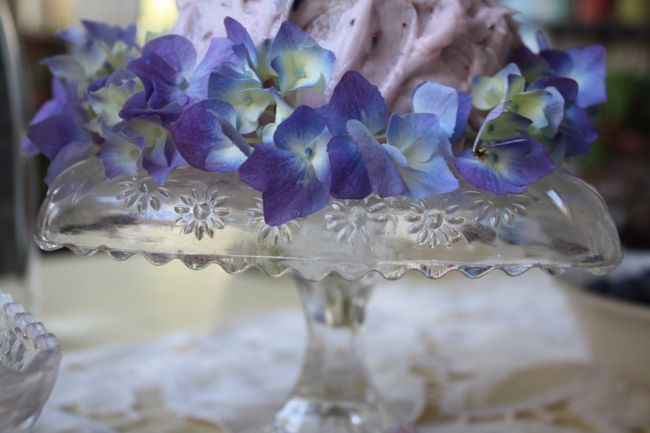
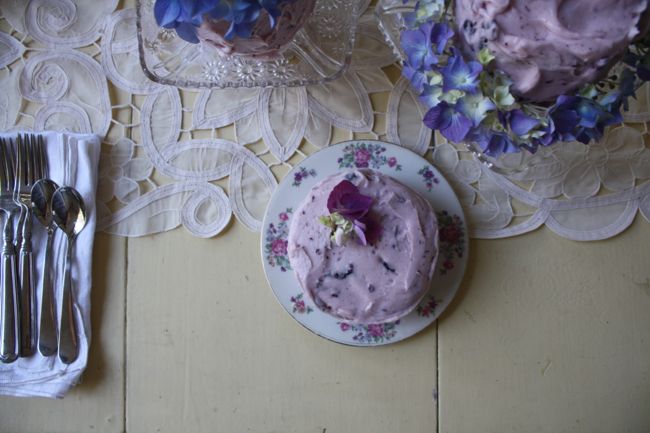
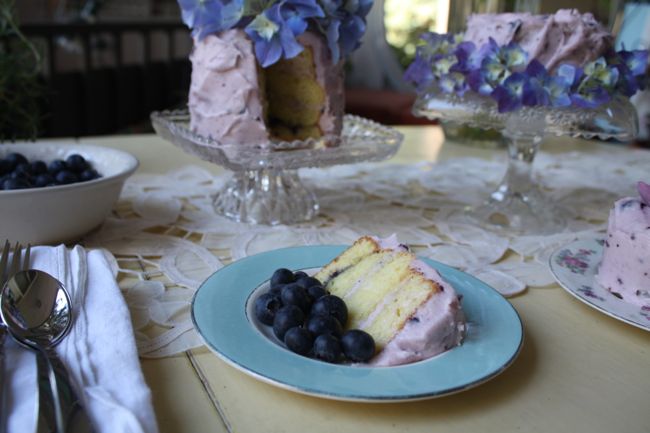
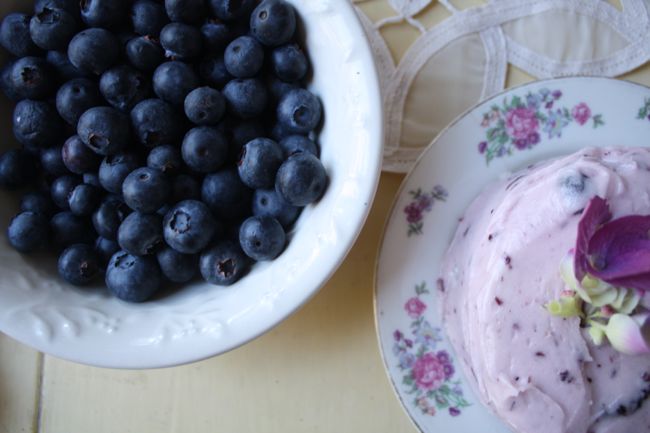
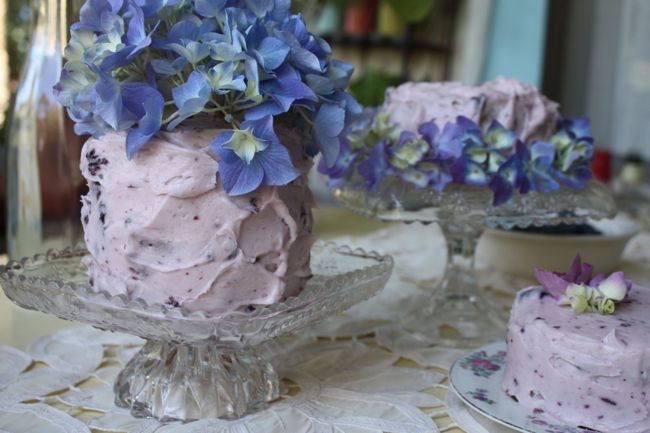
TINY ADORABLE HYDRANGEA CAKES


Photo Disclaimer: I tired a new way of compressing my images for this post, and sadly they didn't turn out well at all. Even sadder yet is that I forgot to copy the originals beforehand :( 
I'm sorry for the poor quality of the images... sad day!


I love hydrangeas. They're so bold and striking with their unreal blues and purples, yet there's something so old-fashioned and simple about them. I couldn't pass up these large, beautiful $5 bouquets at farmers' market and ended up with two big vases of them in the apartment. For the first few days, I couldn't help but imagine all kinds of dramatic uses for them. Some combination of my artistic urges and my sweet tooth resulted in these darling little cakes.

Now, beauty and drama aside, hydrangeas are toxic - do NOT eat them! I was pretty careful to have very few petals actually touching the cake. I placed wax paper underneath the large whole flower on top of the tall cake. Of course if I really wanted to be safe, I should have used silk flowers. But, yeah... no one was eating these cakes except my husband and me, and I was pretty sure we'd be okay being careful...


VANILLA CAKE: Nothing special here, just use your favorite recipe. I just doctored up a vanilla cake mix by adding one extra egg and a small package of instant pudding mix to the batter.

BLUEBERRY BUTTERCREAM

1/2 cup blueberries
1 cup butter, softened
3 - 4 cups powdered sugar
2 - 3 tablespoons heavy whipping cream

In a large bowl, mash blueberries with a fork. Add butter and beat well. Gradually add 3 cups sugar and beat until smooth. Stir in whipping cream to combine, then beat for one more minute.

LEMON BUTTERCREAM (for filling)

1 cup butter, softened
3 - 4 cups powdered sugar
1 tsp. vanilla extract
4 teaspoons lemon juice

Combine butter and 3 cups sugar until smooth. Add vanilla and lemon and stir until smooth. Taste, and add lemon juice by teaspoon if needed, to taste. Adjust powdered sugar for consistency.


Friday, September 13, 2013

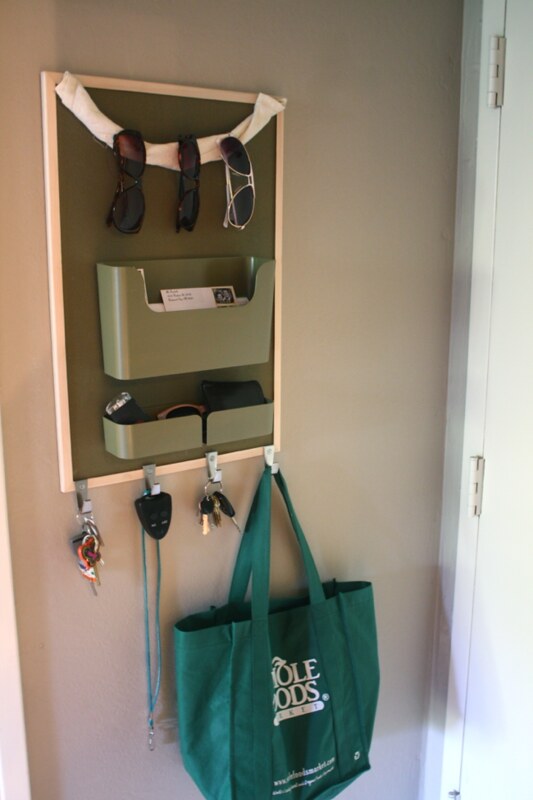
DIY MAIL ORGANIZER & STORAGE BOARD


Hello, dear readers. Hope you're doing great! Just a quick little weekend project to share with you: this mail organizer/storage board. It's not too glamorous, I know, but it happens to be pretty hidden in our apartment. And the sage color really is pretty in person, even though it looks kind of gross in my extremely sub-par photos. 

Anyway it's amazingly useful. 

Plus, it was much cheaper than buying something like it. 

(That little black remote is actually our light switch. And now it's actually on the wall by the door! Yep, it's a big step up from sitting on the kitchen counter.)

Now I'm going to tell you the long version of the story because I'm proud of it, and because I'm kind of in love with organization (my life is full of post-its). A few months ago, I eliminated our junk drawer and catch-all spot. My thinking was: if you designate a spot for junk, it's inevitably going to be FILLED with JUNK. But if you don't, then you will either be forced to find a spot for something/throw it away OR the thing will clutter up your space, and you'll eventually clean it up (as opposed to hiding it away where you don't have to deal with it). Believe it or not, it has totally worked. Now our "junk drawer" contains ONLY things we use regularly (and a few miscellaneous occasional-type odds and ends). You can do it, too!

But we still had the regular, everyday-object clutter, which can become so annoying when trying to clean up the apartment. 

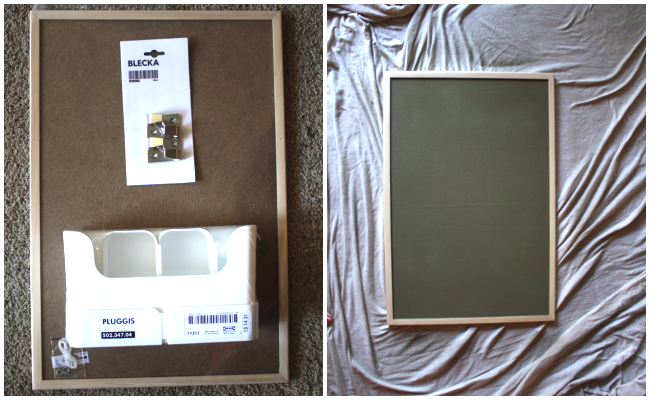
So after a few minutes of Pinterest and Google Images re: organization, I made an early morning trip to Ikea and Home Depot. I came back with this stuff, and some sage spray paint. 


It's now tucked perfectly out of the way behind/by the door. We use it for keys, wallets, mail stuff, bike stuff, shopping stuff (and any other lonely clutter that needs a last-minute home when people are coming over). It's been up for a few weeks now, and we really use it (I more than my husband, admittedly). High five for a successful de-cluttering project! (Those are rare, are they not?)

Happy de-cluttering! Hope you have a WONDERFUL weekend :)


Thursday, August 29, 2013

BLUEBERRY-VANILLA CAKE (w. lemon buttercream)

Hi, dear reader. Hope you're ready for SEPTEMBER. That's right. Summer flitted by as quickly as it does every year, and September is braced to help us let go by giving us some cooler nights and teasing us with pretty fall things to come. And most of us, I think, probably need those pretty things to comfort us during our good-byes to summer skin, late nights outside, and, especially, lots of sunshine hours.

I do love season changes. They're always bittersweet (yes, even winter to spring). Life transitions are the same. I'm starting grad school next week (yay!), and I couldn't be more ready. At the same time, I've so been missing the little munchkins I nannied this year. And believe it or not, I've even missed seeing their nursery school teachers, who were perfectly inspiring and loving, and who taught heaps to their toddlers and pre-school-aged children.

This cake was for them. Thanks, teachers, for doing one of the most important jobs in the world.


It's a vanilla cake with lemon buttercream, filled with a layer of blueberry buttercream. The cake is a little heavy in order to accommodate the heap of blueberry buttercream I wanted to fill it with :)

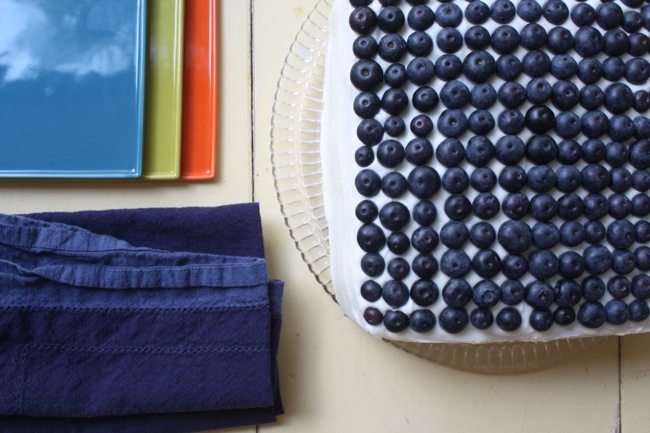
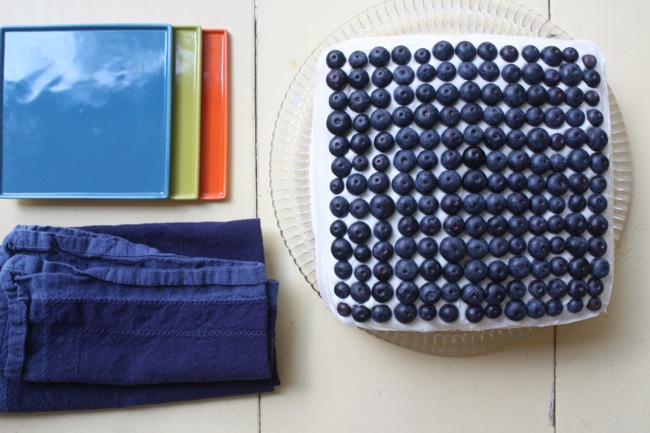
I do love how the "grid"of berries turned out. Cool, yeah? Actually, I thought that part would be super fun, and though the first few rows were fun, the subsequent tens of blueberries took a lot of patience...


BLUEBERRY BUTTERCREAM (for filling layer)

1/2 cup blueberries
1 cup butter, softened
3 - 4 cups powdered sugar
2 - 3 tablespoons heavy whipping cream

In a large bowl, mash blueberries with a fork. Add butter and beat well. Gradually add 3 cups sugar and beat until smooth. Stir in whipping cream to combine, then beat for one more minute.


LEMON BUTTERCREAM

1 cup butter, softened
3 - 4 cups powdered sugar
1 tsp. vanilla extract
4 teaspoons lemon juice

Combine butter and 3 cups sugar until smooth. Add vanilla and lemon and stir until smooth. Taste, and add lemon juice by teaspoon if needed, to taste. Adjust powdered sugar for consistency.


UA-46365231-1