Thursday, August 29, 2013

BLUEBERRY-VANILLA CAKE (w. lemon buttercream)

Hi, dear reader. Hope you're ready for SEPTEMBER. That's right. Summer flitted by as quickly as it does every year, and September is braced to help us let go by giving us some cooler nights and teasing us with pretty fall things to come. And most of us, I think, probably need those pretty things to comfort us during our good-byes to summer skin, late nights outside, and, especially, lots of sunshine hours.

I do love season changes. They're always bittersweet (yes, even winter to spring). Life transitions are the same. I'm starting grad school next week (yay!), and I couldn't be more ready. At the same time, I've so been missing the little munchkins I nannied this year. And believe it or not, I've even missed seeing their nursery school teachers, who were perfectly inspiring and loving, and who taught heaps to their toddlers and pre-school-aged children.

This cake was for them. Thanks, teachers, for doing one of the most important jobs in the world.


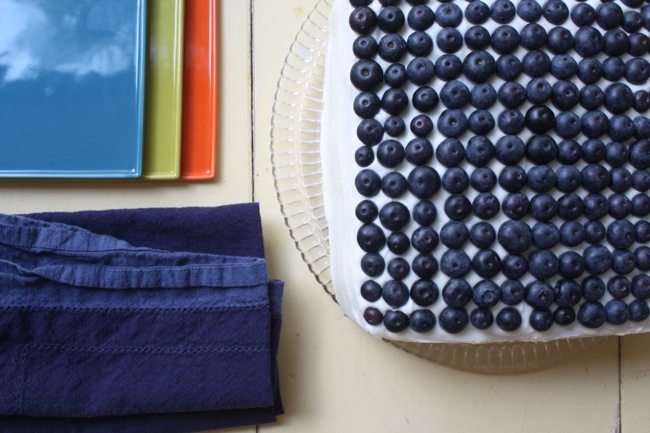
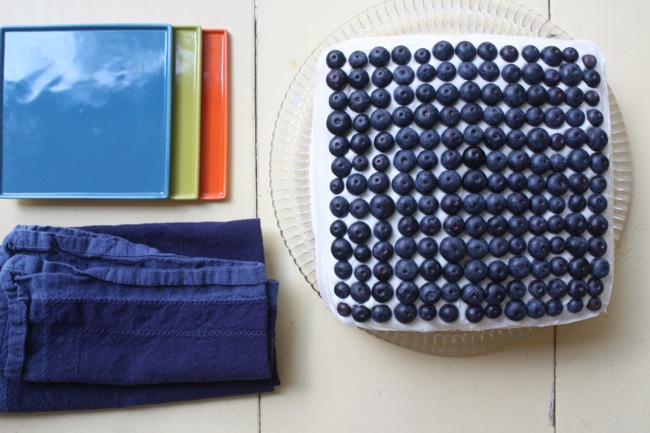
It's a vanilla cake with lemon buttercream, filled with a layer of blueberry buttercream. The cake is a little heavy in order to accommodate the heap of blueberry buttercream I wanted to fill it with :)

I do love how the "grid"of berries turned out. Cool, yeah? Actually, I thought that part would be super fun, and though the first few rows were fun, the subsequent tens of blueberries took a lot of patience...


BLUEBERRY BUTTERCREAM (for filling layer)

1/2 cup blueberries
1 cup butter, softened
3 - 4 cups powdered sugar
2 - 3 tablespoons heavy whipping cream

In a large bowl, mash blueberries with a fork. Add butter and beat well. Gradually add 3 cups sugar and beat until smooth. Stir in whipping cream to combine, then beat for one more minute.


LEMON BUTTERCREAM

1 cup butter, softened
3 - 4 cups powdered sugar
1 tsp. vanilla extract
4 teaspoons lemon juice

Combine butter and 3 cups sugar until smooth. Add vanilla and lemon and stir until smooth. Taste, and add lemon juice by teaspoon if needed, to taste. Adjust powdered sugar for consistency.


Sunday, July 28, 2013

PLUM GINGERSNAP ICE CREAM SANDWICHES


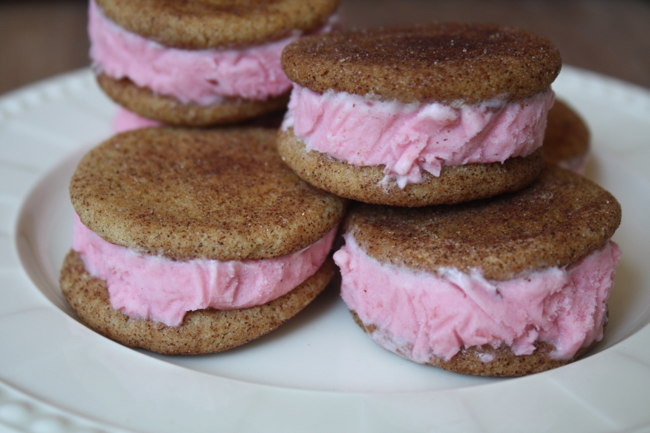
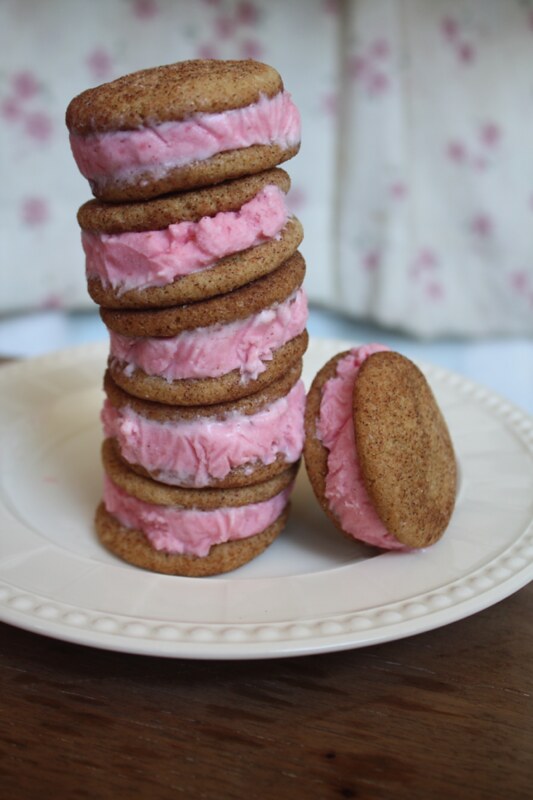
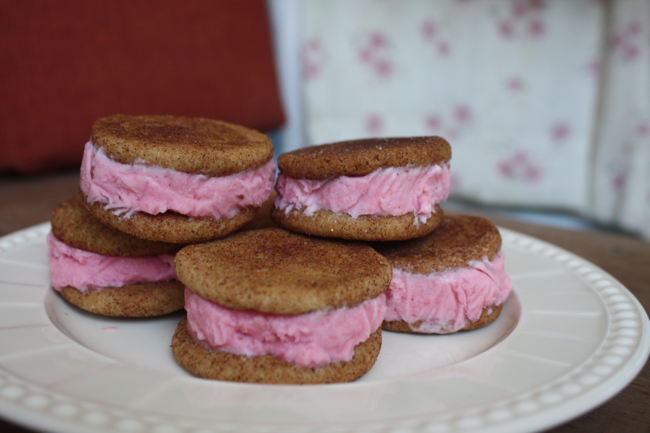
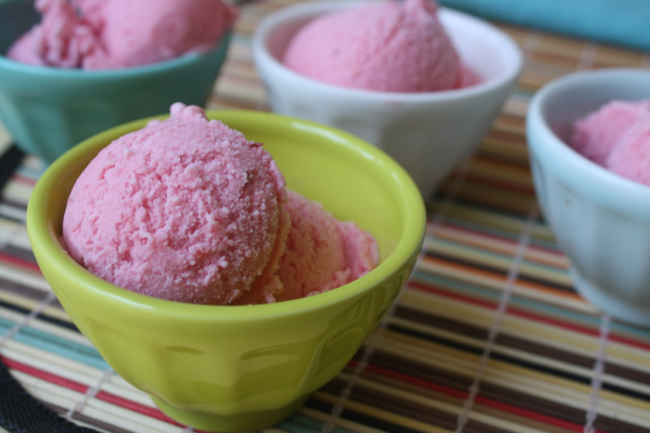
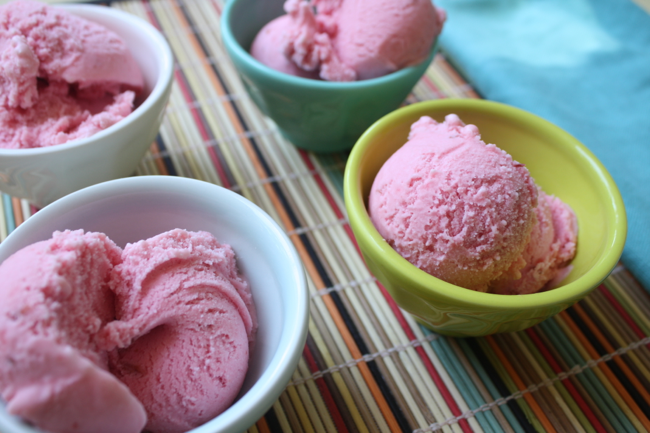
I wanted to follow up on my last post to let you know that I made ice cream sandwiches with that plum ice cream. They're perfect little treats!


I mentioned in my last post that the ice cream seemed like it'd be a great consistency for ice cream sandwiches: it firms up well, but it doesn't get rock solid. It ended up working PERFECTLY for sandwiches. They don't slide apart when you bite into them. And the cookie recipe I used even stays a little soft when frozen (so you don't feel like you're eating a rock).


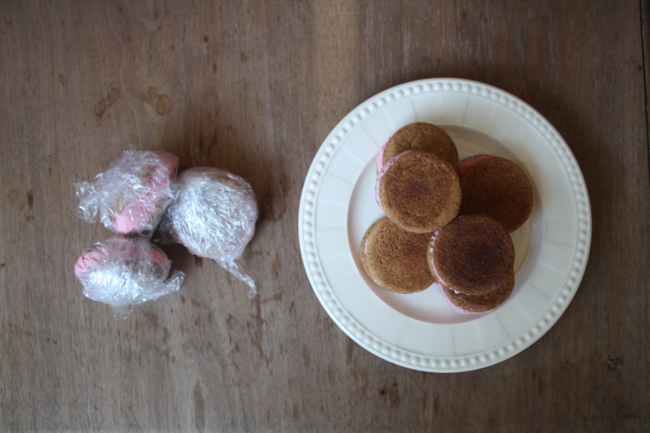
And don't gingersnaps sound good with plum ice cream? Mmm. They are. I made smallish gingersnaps (for smallish ice cream sandwiches). They're 1.5 inches wide (great for snacking, *cough). I realized a few sandwiches in that they should be assembled with the bottoms of the cookies facing out - that way they sit flat. I wrapped the sandwiches individually in saran wrap and put them in the freezer to firm up.


Now I didn't consider the fact that the saran wrap's wrinkles would leave their impressions in the ice cream and make the ice cream sandwiches look like wrinkly little messes. Of course, let's be honest, if I had realized that, I probably wouldn't have spent too much time trying to make sure the saran wrap was perfect, anyway.

Here's the recipe I used for the plum ice cream.
Here's the recipe I used for the gingersnaps.

Enjoy!

Friday, July 26, 2013

PLUM ICE CREAM


Happy stone fruit season, everyone! I realized recently that plum season doesn't last as long as peach season does, and I've definitely been favoriting peaches lately... So I thought I'd fix it by eating lots of plums this week while they're still sweet and beautiful. And, wouldn't you know it, I made some ice cream, too.


This recipe is from David Lebovitz's The Perfect Scoop (but paraphrased...). It has only 5 ingredients (yay). For some reason, I've had better luck getting the perfect ice cream consistency in recipes that don't contain eggs. So generally I skip over recipes that do. Plus, holy cow, this recipe is so simple.


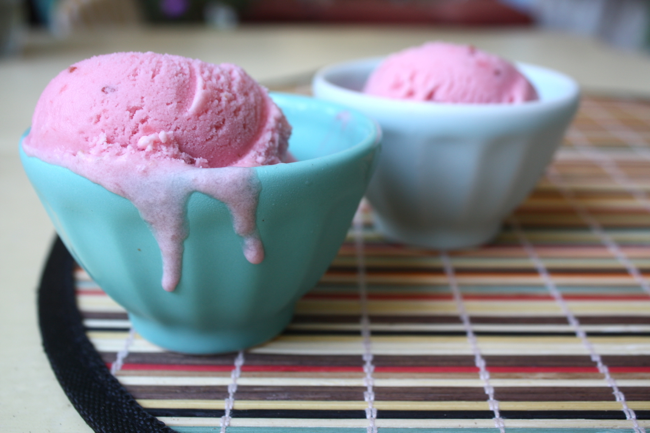
The ice cream was very creamy, indeed. It firmed up very quickly in the freezer but never became super hard. For that reason, I think it would be perfect for ice cream sandwiches... hm... I'll keep you updated! I made the batter the day before and it saved perfectly. 

Now the recipe calls for Kirsch (a liqueur), but I used some vanilla extract instead. Also, a few of my plums weren't very ripe, so I peeled some skin off of those. I also added an extra spoonful of sugar. 


Plum Ice Cream

Adapted slightly from David Lebovitz's The Perfect Scoop

1 pound red plums
1/3 cup water
3/4 cup plus 2 tablespoons sugar (+ a little extra, if your plums aren't too sweet)
1 cup heavy cream
1/2 teaspoon vanilla extract (or Kirsch cherry liqueur)

Cut the plums into 8ths, removing the pits. Add to saucepan with the water and cook over medium heat, stirring occasionally, until tender (about 10 minutes). Remove from heat and stir in sugar. Cool to room temperature. Add heavy cream and vanilla extract (or Kirsch) and puree. Cover batter and chill in refrigerator. Freeze according to ice cream maker's instructions. Makes 1 quart.

Monday, July 22, 2013

DIY PILLOW COVERS (FROM CLOTH NAPKINS)


Hello, dear reader! Happy Monday! I am officially in a state of limbo, having finished my full-time job last week and ready to begin graduate school in about a month. I graduated from college a year ago in May, planning to take one year off before continuing onto graduate school. Today, as the year is coming to an end, I can confidently say that I'm very happy I took the time off. Besides getting acquainted with a new (and beautiful) part of the country, saving up from a year's worth of working, and having some time to take a breath from school, I have learned a lot about myself.

I'm one of those people who loves school, and I was surprised to discover that I behave pretty differently when I'm not in school (i.e. how I take care of myself, motivate myself, and in general structure my life). After having been in school for as much of my life as I can remember, how could it not be exciting to discover a new layer of myself?

Up until this year, I was kept plenty busy with goals I was trying to attain. They were all so natural, just following a path that had been laid out for me by teachers, parents, institutions, and (at some point) myself. In many ways, it was so easy to for me to get through because goals were so clearly laid out for me. You know: If you want to get an A, you need to do this homework; if you want to get better at piano, here are the ways you should practice. Surely it's not always so simple. But in general, someone was telling me where to be, what time, and how to be prepared for it. That I can do.

This year, my schedule and goals were a blank slate. I chose when and where to be, what to learn, and how to evaluate myself. That... I was not so good at. It involved a lot of sifting through myself to figure out what's important to me and how I can best use my talents to serve the world. And though I learned a lot, I feel like I've just barely scratched the surface.

I know, I sound like an early-twenty-something off to find herself. But that's what I aaaaam! Sigh.

DIY PILLOW COVERS (FROM CLOTH NAPKINS)


SO. In these few weeks off, I'm studying, practicing, and trying to finish up several little projects around the apartment, starting with these pillow covers.

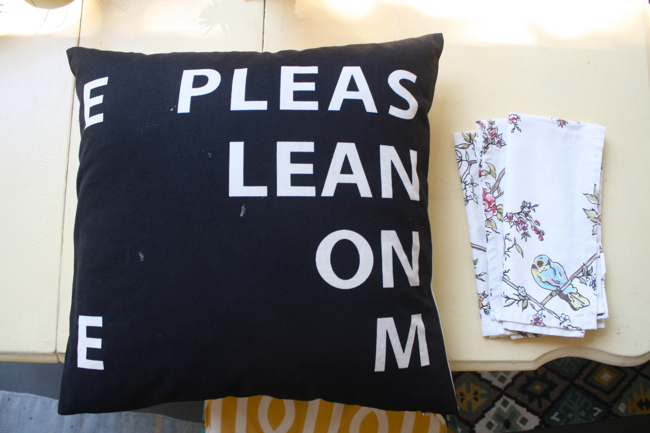
This black and white pillow below (from CB2, a few years ago), was our only couch pillow. It's SO COMFORTABLE, but it's old and dirty (please observe), and it doesn't go with the room. Conveniently, I have these darling napkins which I like so much I wanted to display them. Plus, I've had them for months and never used them because I don't want them to get dirty. Obviously it was time to use them for something else.


I don't have a sewing machine, so I used heat-bond hem tape on 3 sides of the cover, put the pillow inside, then sewed up the final edge by hand.

I'm sure you don't need a photo tutorial, but I want to include it to emphasize how easy this was :)

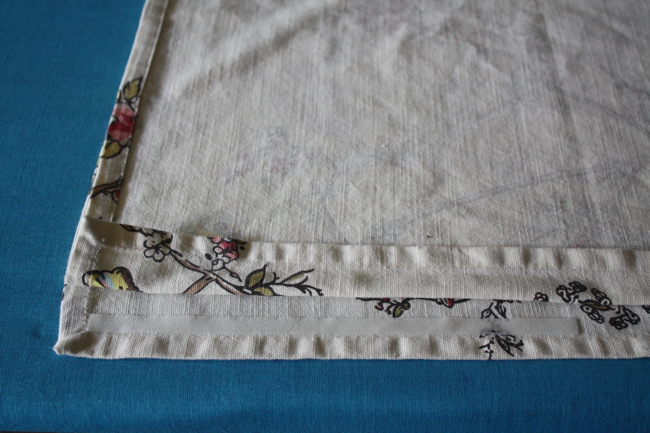
Iron the napkins well. Line them up together, face to face. Lay a piece of hem tape JUST inside the hem of the napkin. If you put the tape directly on the hem, it will have thicker, bumpier fabric to bond and won't be as strong.


Now proceed to the next section.


And continue until you've finished 3 sides of the square. Be sure to fold the corners under evenly so they look neat. It helps to iron them exactly how you want them before adding the tape.

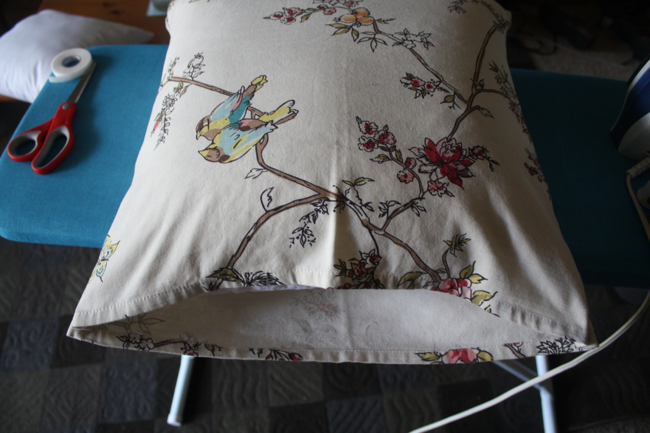
Then turn it right-side-out, and iron well once more.

Slip the pillow inside, and sew up the edge. Voila!


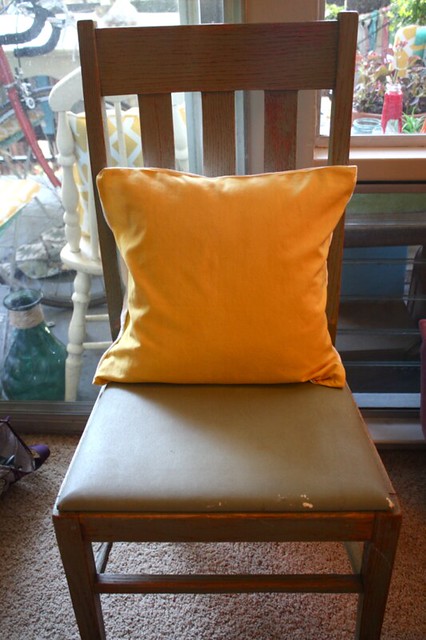
I also made this darling little 2-tone cover the same way - with one yellow and one white napkin. For this one, I actually bought a pillow form from Michael's. These napkins were smaller, so I think it's only 12 x 12. (Better photo above.)


Thursday, July 18, 2013

VANILLA BEAN ICE CREAM


Well, I'm back with more ice cream. Just what you needed, maybe? Hope so.

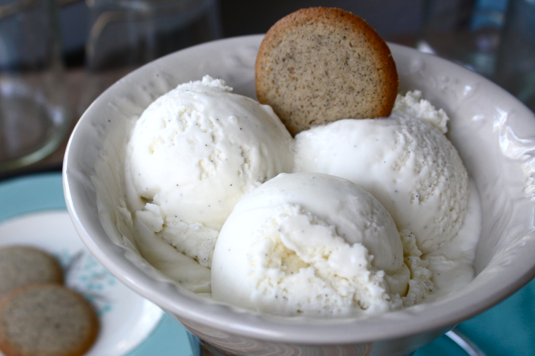
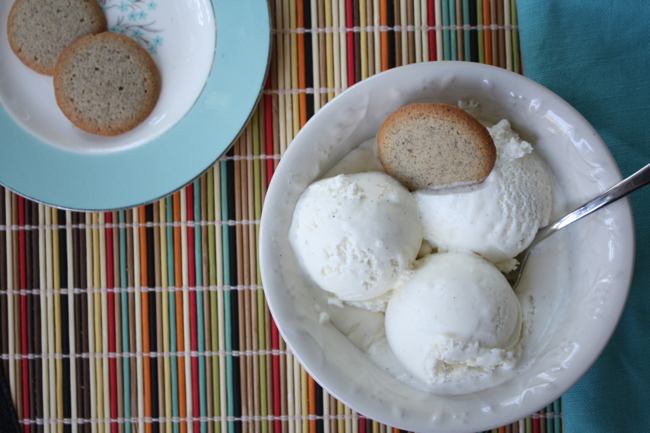
In case you saw my recent post about making vanilla extract and were inspired to order vanilla beans in bulk, here is a great way to use some of them. Good ice cream is such a fresh, delicious way to show off and indulge in that pure vanilla bean flavor. This recipe is very creamy. Unlike other ice cream recipes I've made, this one stays relatively soft when frozen. Don't be alarmed as I was when, after 24 hours of occasionally checking it, I started thinking there might be something wrong with my freezer. It's not going to get totally hard.

And have you ever had Trader Joe's brand vanilla bean wafers? Holy crap. They're so stinking good.


VANILLA BEAN ICE CREAM

1 cup whole milk
¾ cup granulated sugar
pinch salt
1 1/2 cups heavy cream
1 - 2 vanilla beans, scraped (or 1 tablespoon pure vanilla extract)

Combine all ingredients in a large bowl. Follow ice cream maker instructions.

Friday, July 12, 2013

VANILLA GINGERBREAD WAFFLES


Sunday brunch is a thing around here. But waffles, the poor things, never get included in the menu. Here's how lazy I am sometimes: just the idea of dragging out the waffle iron and cleaning it afterward is tiring to me. Actually, I don't remember where our waffle iron came from, but it was a hand-me-down from somewhere. The hinges are completely gone, so you have to hold the raggedy thing together to keep the cord in, and it's plenty stained. Hm. Its old age makes my laziness more acceptable, right?

Well, either way, I decided it was time for the weary thing to go. Knowing well that I'm not going to buy a replacement - at least not in the foreseeable future - I got rid of the thing, but not before one last killer batch of waffles for Sunday brunch.

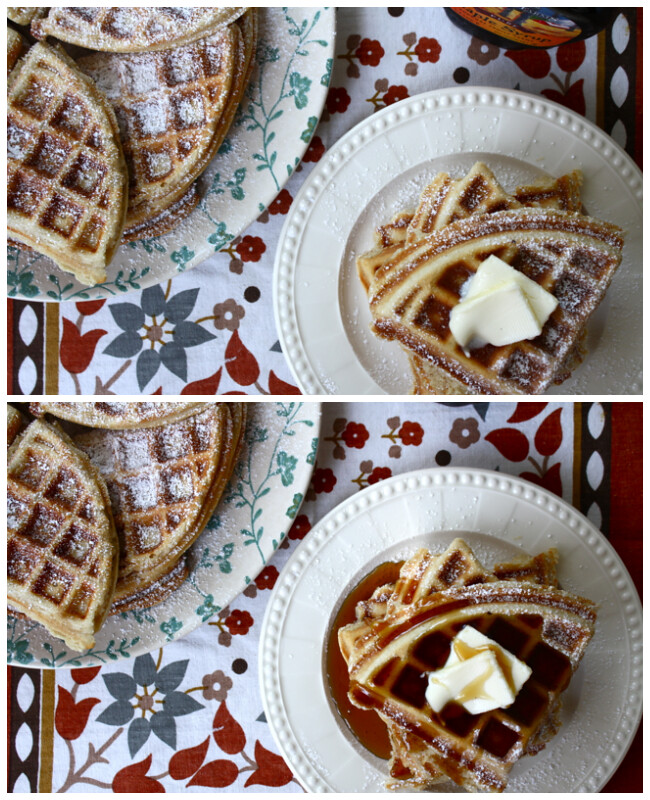
Thus I bring you the last batch of waffles this home will see for a long time: vanilla gingerbread. I gotta say, these waffles were so yummy that I was tempted to save my old iron's life, but I stayed strong and simply enjoyed every last bite of these.

Happy weekend. Hope you have a wonderful one. And if you're Sunday brunching, give these a try.


Vanilla Ginger Waffles 

2 cups all-purpose flour
1 teaspoons salt
4 teaspoons baking powder
2 tablespoons sugar
1 teaspoon ground ginger
1 1/2 teaspoons ground cinnamon
1/2 teaspoon ground cardamom
1/4 teaspoon ground cloves

2 eggs
1 1/2 cups milk, warm
1/3 cup butter, melted
2 vanilla beans, scraped (can sub. 2 teaspoons vanilla extract)

In a large bowl, mix together dry ingredients and spices with a fork. Set aside. In a medium bowl, beat eggs. Stir in milk, butter, and vanilla. Stir wet ingredients into dry ingredients. Spoon batter into preheated waffle iron and cook until golden brown.


Thursday, July 4, 2013

CHOCOLATE ICE CREAM (MADE FROM BANANAS)


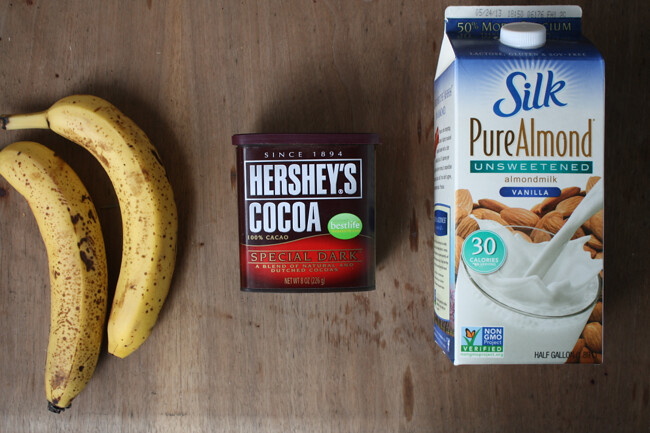
Yep. Made ice cream with bananas, cocoa powder, and almond milk. I know, I know, it's not ice cream. But it's yummy! And if you've never tried banana-base "ice cream," it's really worth a try. When you blend up a frozen banana, it has the creamiest texture, pretty much as close to ice cream as you can get. But it's fruit!


I've been experimenting with ice cream from bananas for a few years - try peanut butter, coconut milk, or fruit puree. But this is my favorite. The banana flavor does come through, but it's still chocolatey and creamy. Can you beat that?


BANANA BASE CHOCOLATE ICE CREAM

chocolate ice cream, made from bananas

2 large bananas
2 tablespoons cocoa powder (I used Hershey's special dark)
2 tablespoons almond milk (you can use any milk)

Slice bananas into disks. Lay out on a plate or cookie sheet, and freeze. Place frozen banana slices in a blender and blend until smooth. It will become very creamy, like ice cream. Add cocoa powder and milk, and blend until smooth.


UA-46365231-1